When most gamers hear the word “embroidery,” they probably call to mind old-timey ladies sitting in a fancy parlor and gossiping about Mr. Darcy.

“This needlepoint’s gonna look totally sick next to my Grecian urn collection.”
From now on, don’t think about that lady up there. Instead, think about these ladies down here:

Princess Zelda, Samus, and Pauline are all shown here in their original 8-bit style.
More specifically, think about 8-bit artwork.
Just in case you don’t know, 8-bit refers to a style of pixelated artwork commonly found in retro games like the original Legend of Zelda, Metroid, or Donkey Kong games. Because game consoles didn’t have the computing power to display hundreds of thousands of pixels, they had to use each pixel wisely. Many modern games use 8-bit style artwork, either to evoke a nostalgic atmosphere or just because their developers like the way it looks.
But what does 8-bit artwork have to do with embroidery?
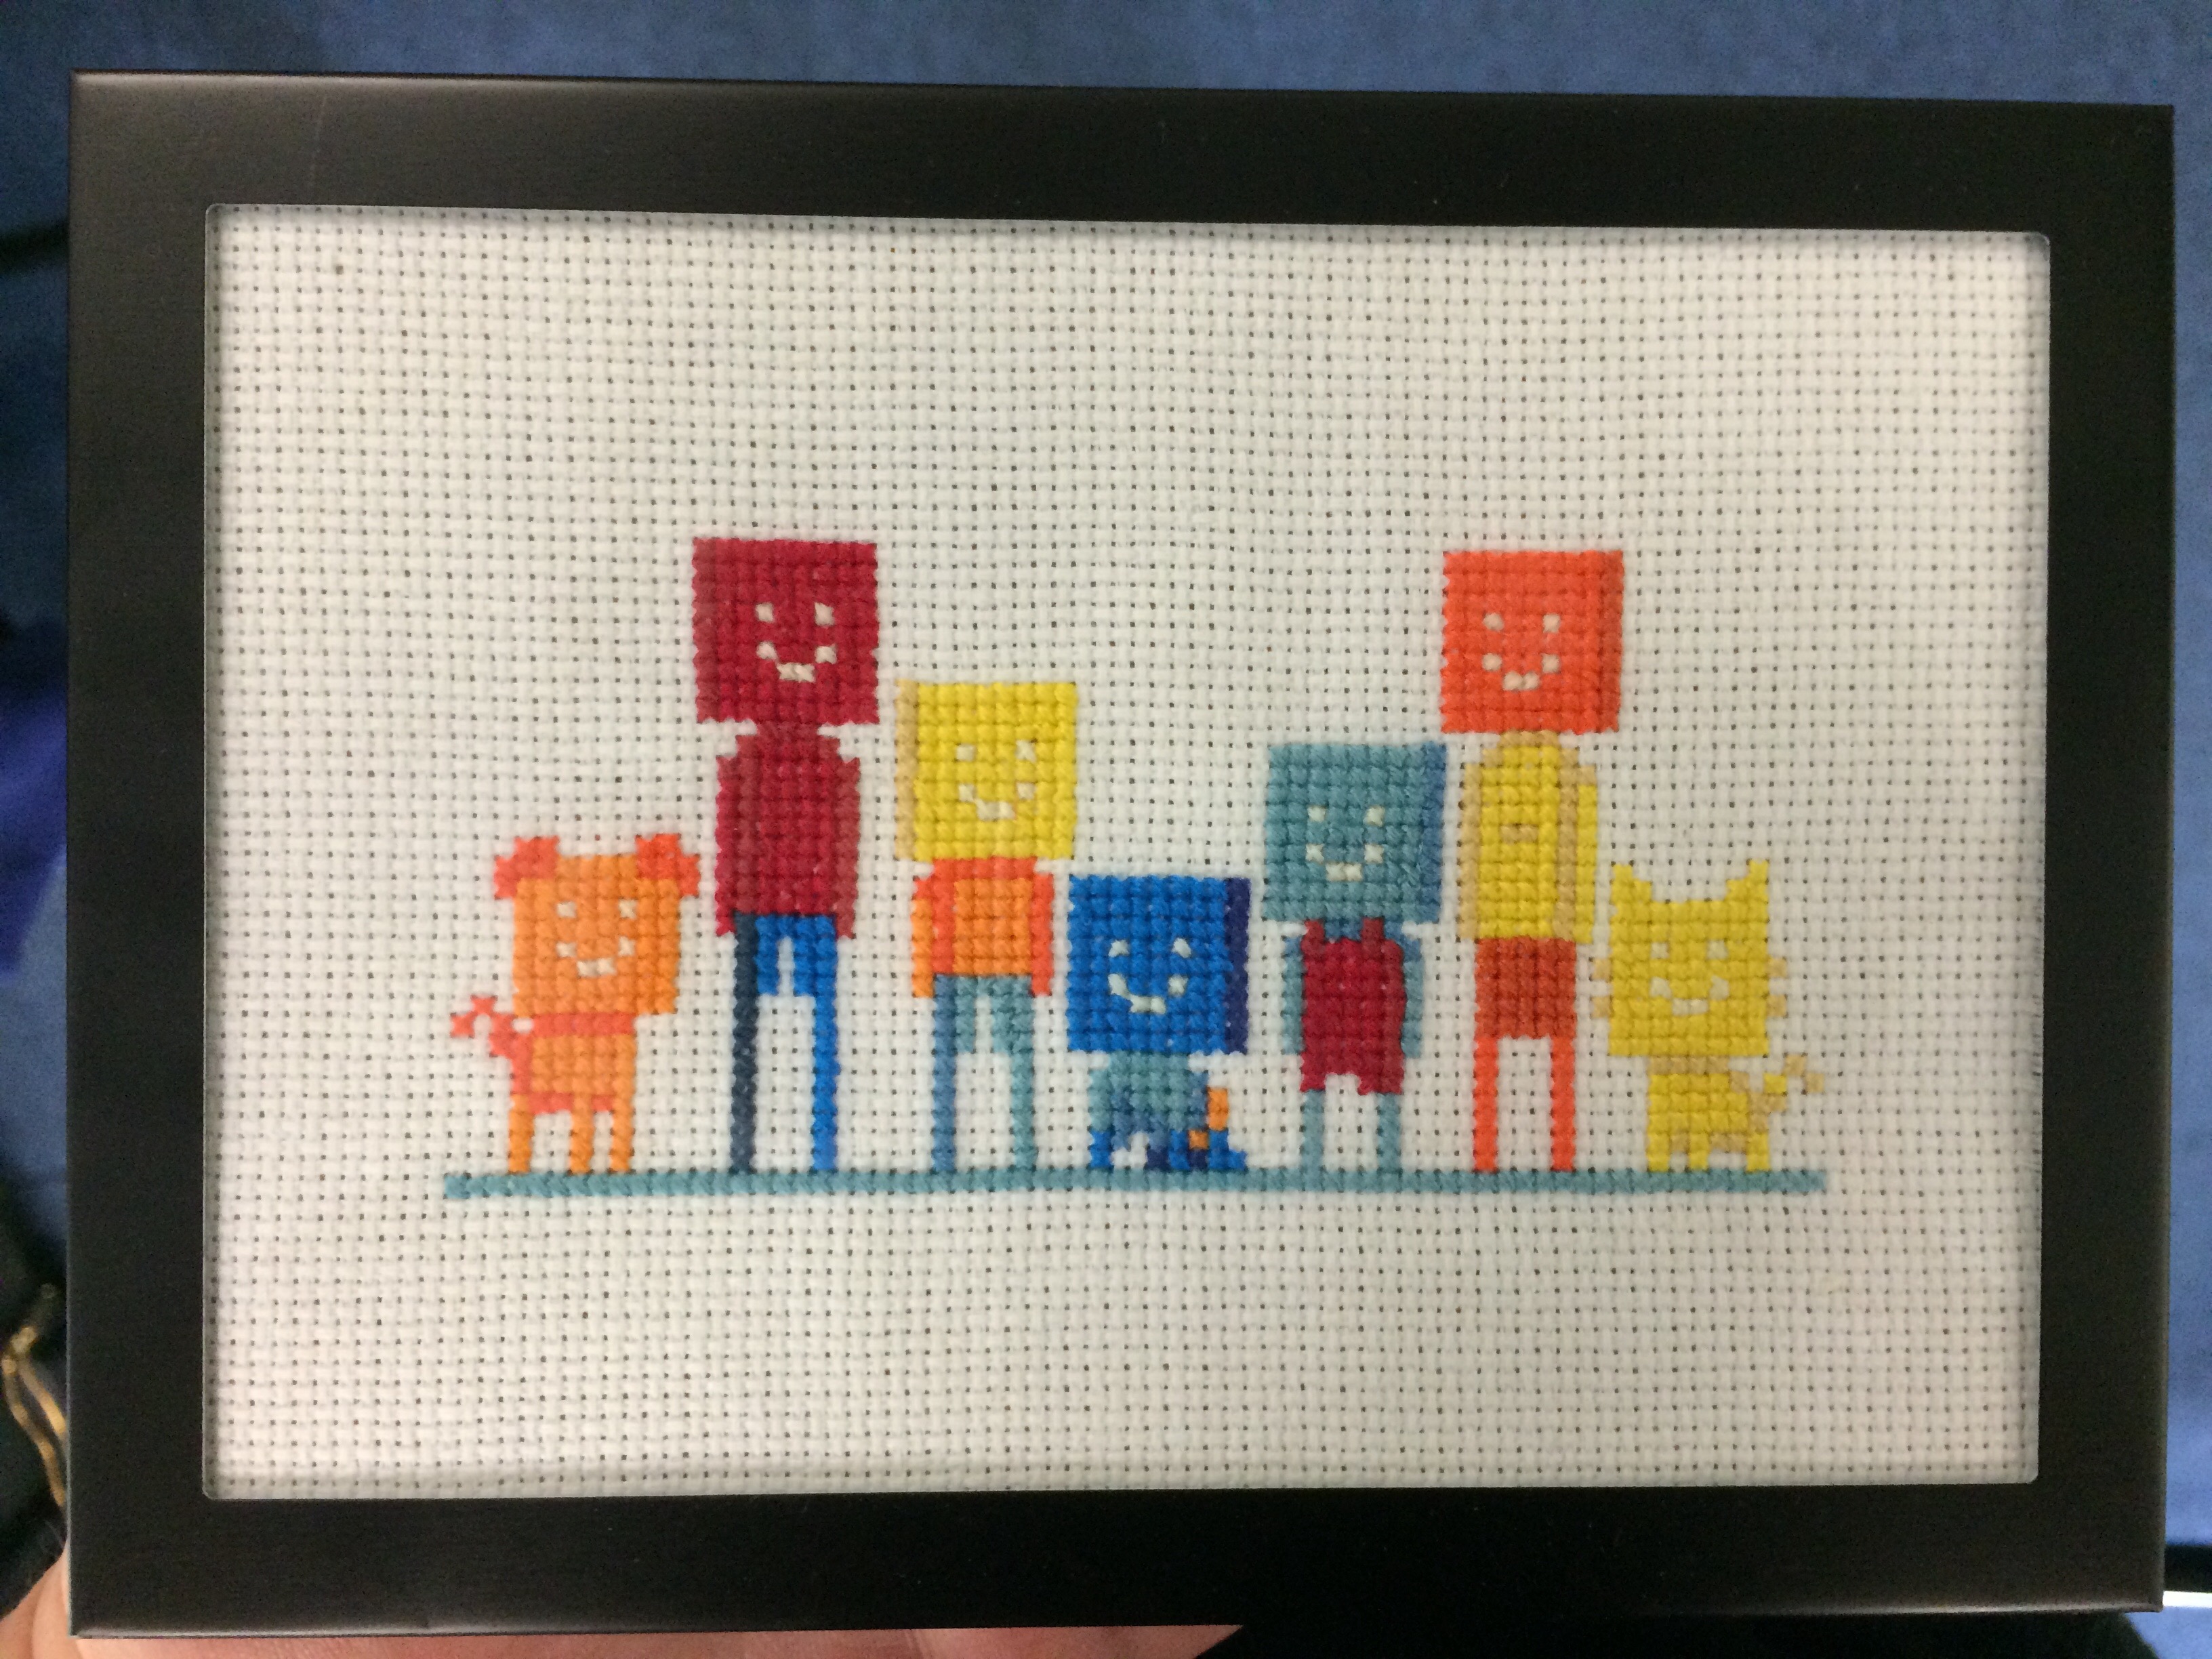
One of the most common types of embroidery is cross-stitch, which involves stitching hundreds of tiny crosses to create a pattern. Here’s what a cross-stitch looks like:
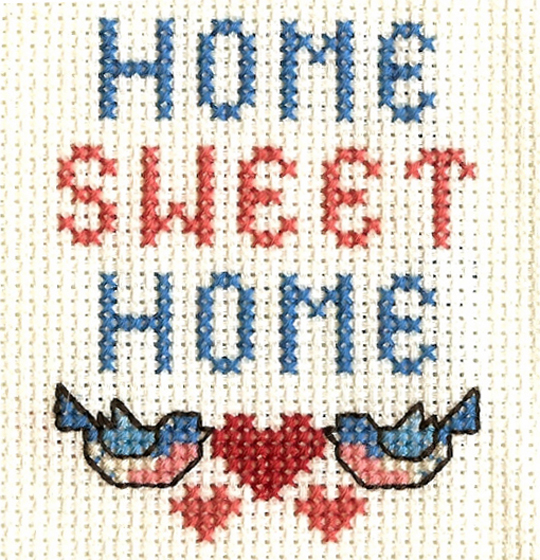
You may have seen something like this in your grandma’s house.
See how it’s kind of blocky? Every stitch is part of a big grid. Because of this grid, it turns out that 8-bit artwork is, by nature, an almost perfect cross-stitch pattern.
And that’s why we’re here! So you can turn your favorite 8-bit game characters into cool cross-stitches!

This primer was designed by HappyCupcakeCreation. I bought the pattern and stitched it last year for a friend’s baby shower.
Step 1: Choosing a Character
If you’ve never made a cross-stitch before, you’re going to want to start simple. The fewer pixels in your character, the easier they will be to cross-stitch. You also should pay attention to how many colors are being used. The fewer colors, the fewer supplies you’ll have to buy.
Here are a few ideas to get you started.

Any of these designs would make for a good first cross-stitch, as would the three female characters at the top of the article.
Once you’ve stitched some of these basic patterns, you might want to try something more advanced. I will often make patterns for myself using Photoshop. Here’s the pattern I’m working on right now. You can also turn to Etsy for inspiration.
Step 2: Making Your Character Into a Pattern
In order to make stitching and counting easy later on, you’ll want to draw a grid onto whichever image you choose to stitch. Pick a character you like and print it out so that it fills most of a page. Then, with a ruler and a pencil, draw lines across your picture that match up with the edges of the square pixels.
After you have a grid, add numbers across the top and down the side. That way, you know how much fabric you’ll be taking up before you start. It will also help you keep track of your stitches later on.
If you’d rather do this step on your computer, that works, too.
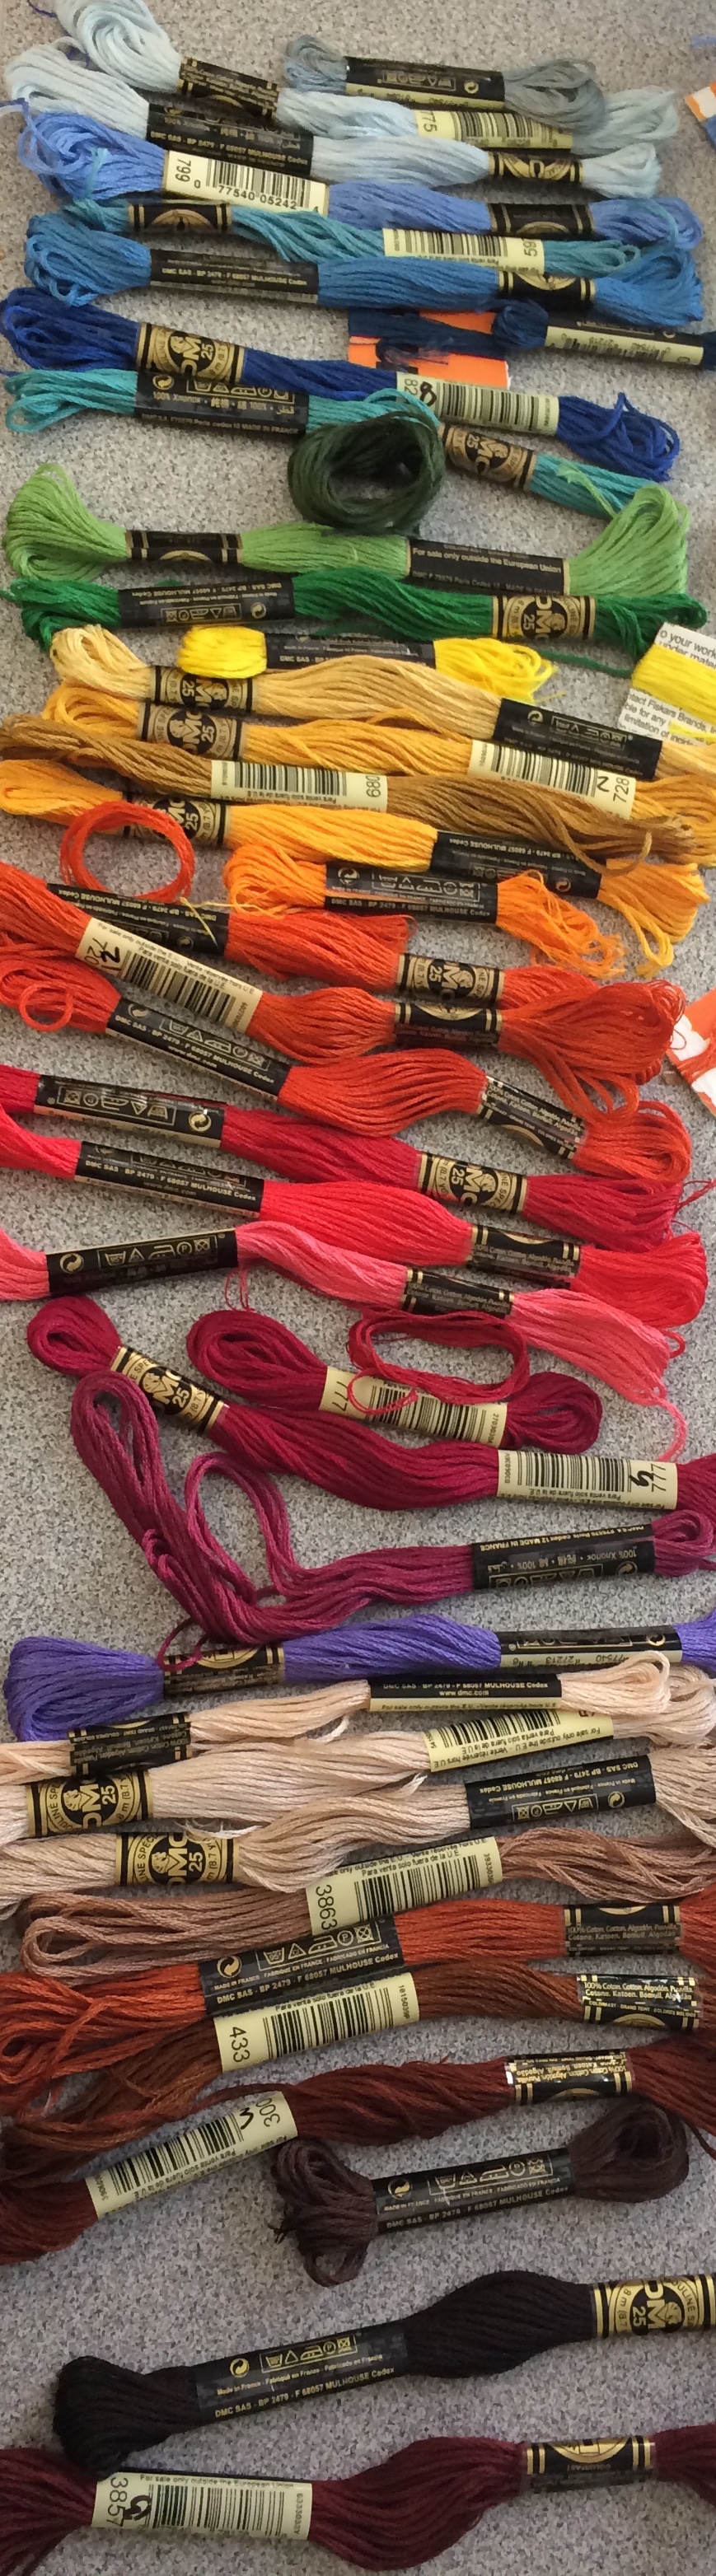
Some of the embroidery floss I’ve acquired over the years.
Step 3: Getting the Materials
To complete your cross-stitch, you’ll need a few things. Luckily, they tend to be very affordable. I recommend buying these things after you’ve completed steps one and two.
- An embroidery needle. Most sewing needles will work, but if the eye is too small, you might have trouble getting the thick embroidery floss to fit through. A pack of embroidery needles will usually cost you less than $5.
- Embroidery floss. This special kind of thread is extra thick to give your embroidery a nice, bold finish. It comes in hundreds of colors, but you’ll just want to buy the colors you need for your pattern. Floss usually costs about $0.25 per skein, and you will not be using an entire skein.
- Cross-stitch fabric. Technically speaking, any kind of fabric will do, but cross-stitch fabric is nice and stiff and is covered in little holes which are perfect for creating your 8-bit masterpiece. If you’re going to stitch a character that is white (like Gomez from the game Fez), you might want to find some fabric that is a color other than white, so that your character is visible.
- A pair of scissors. Gotta snip that floss!
- A picture frame (optional). Once you’re done with your cross-stitch, you may want to present it in a nice frame. I usually get mine at Goodwill for less than a dollar. I like to wait until my cross-stitch is finished before I buy a frame so that I know exactly what size to get.
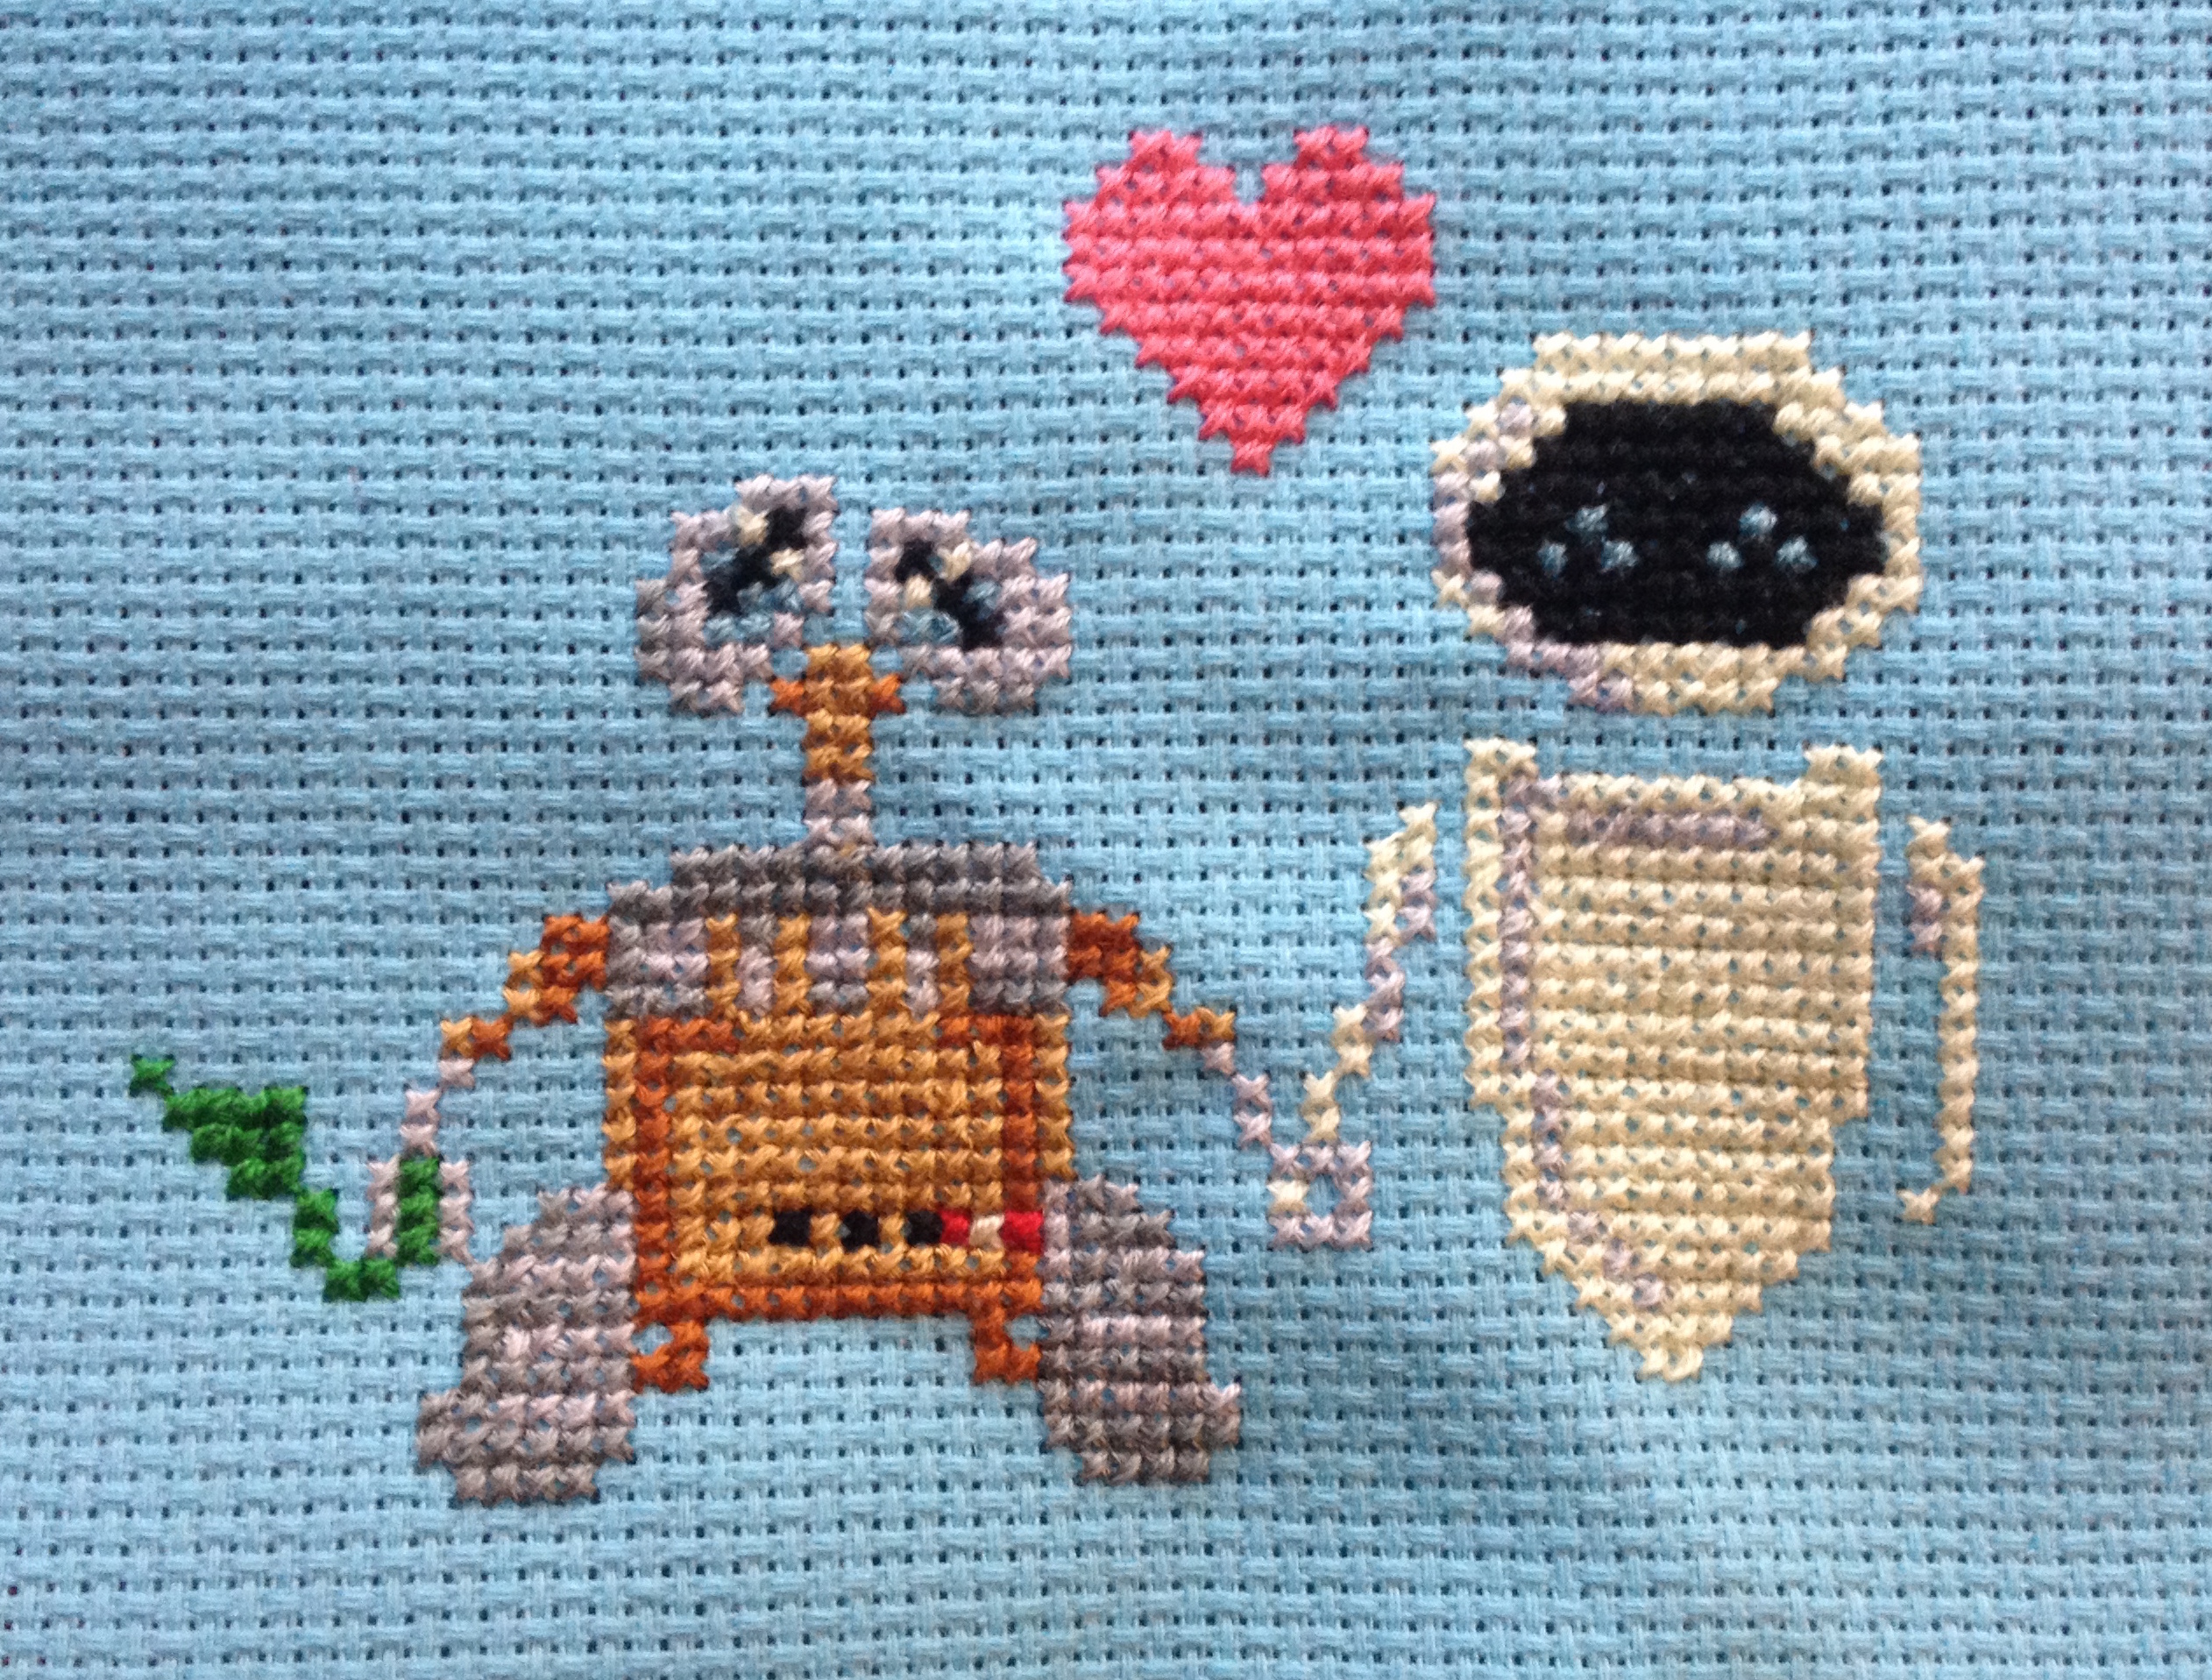
For this Wall-E cross-stitch, I had to use blue fabric so that Eve was visible. I based the pattern off of this t-shirt design.
Step 4: Your First Stitch
Let’s start by pulling out some floss. You’ll want about an arm’s length per color if you’re doing a tiny pattern like any of the characters above.
The embroidery floss will be a bit too thick for our needs, but luckily we can make it thinner. Tease the ends of the floss and notice that it’s actually made of six strands of thread. Take three strands in one hand and three in the other and slowly pull them apart, until you have two equally thick clumps of floss.
If you go too quickly, they’ll bunch up and knot. Move slowly and it’s a piece of cake.
Take either half and thread it through your needle. I sometimes lick my finger and pinch the end of my floss to make the threads stick together. Once it’s in, pull it a few inches through to help prevent it from falling out. One of the great things about cross-stitch is that there’s no need to tie a knot at the end of your thread. More on that in a minute.
Let’s set up the fabric. Don’t cut the fabric just yet. Instead, you should pick a corner and stitch inward from there. That way, if your pattern is a little bigger than expected, you won’t run out of room. Don’t start too close to the edge, though. This kind of fabric unravels easily, so you’ll want a nice safety buffer for your artwork.
Before we begin, let’s take a look at this chart. Cross-stitching is all about making little X-es. We’ll be starting in the top left corner of the X, and then moving to the bottom right corner.
The grey arrows represent when the thread is on the underside of the fabric.
For your first stitch, you’ll want to push the needle up from the bottom of the fabric. Pull the thread almost all of the way through. Then, bring the needle down through one of the holes that’s diagonal from your starting point. Pull the needle back up from the bottom. As you do this, you can secure that loose dangling thread from before underneath your new stitch.
Oh hey, you have a pattern! Pay attention to which half of your stitch is on top. In the chart above, the bottom-left to top-right stitch is above, and the top-left to bottom-right stitch is below. Ideally, every stitch in your pattern will match.
Step 5: Following the Pattern
Now that you’ve mastered the single stitch, it’s time to do a whole bunch more! Keep your printed pattern on hand for reference.
To save you from re-threading your needle every other stitch, you’re gonna want to embroider one color at a time. For my Kirby pattern, I started with black. Try to move in a logical order, doing stitches next to each other as often as possible. Avoiding jumping around on the pattern. This will help you prevent knotting on the backside.
For my Kirby cross-stitch, I started with the outline, then did the highlights, then filled in the middle with pink.
Speaking of knots, you’ll almost certainly have to deal with some knotting before this ordeal is complete. Don’t panic. Work through knots slowly with your needle. Try to make them as loose as possible. If worse comes to worst, snip it off and try your best to tuck in the remaining thread. You may need to unpick a few stitches to get enough thread to tuck in.
Knot Prevention Tip: Don’t rush and don’t tug! Take your time with the pattern, and if you feel resistance, stop and flip it over to see what the floss is caught on. Tugging turns small knots into big knots.
When it’s time to move onto a new floss, either because you’ve run out or because you’ve finished with your color, you’re going to want to tuck your needle through the backs of a few stitches to secure the tail end of the floss. You can start on your new color in the same way.
It’s easy for the back of a cross-stitch to get out of hand with knots and extra thread. Try to keep the back looking clean as well as the front!
Step 6: Presentation
Congrats! Your beautiful creation is finished! Now you can cut it out of its fabric and find a nice place to display it. Remember to leave a bit of a border around your cross-stitch. This kind of fabric will fray, and you don’t want your hard work to come unraveled.
There are lots of different things that you could do with your cross-stitch now that it’s complete. You can put it in a nice card and mail it to someone special. You can use it as a bookmark. You can sew it into a t-shirt or towel, if you like to sew. I usually stick my cross-stitches into frames.
Framing is expensive if you go to a frame shop, so I usually just head over to my local Goodwill, where most frames cost $0.99.
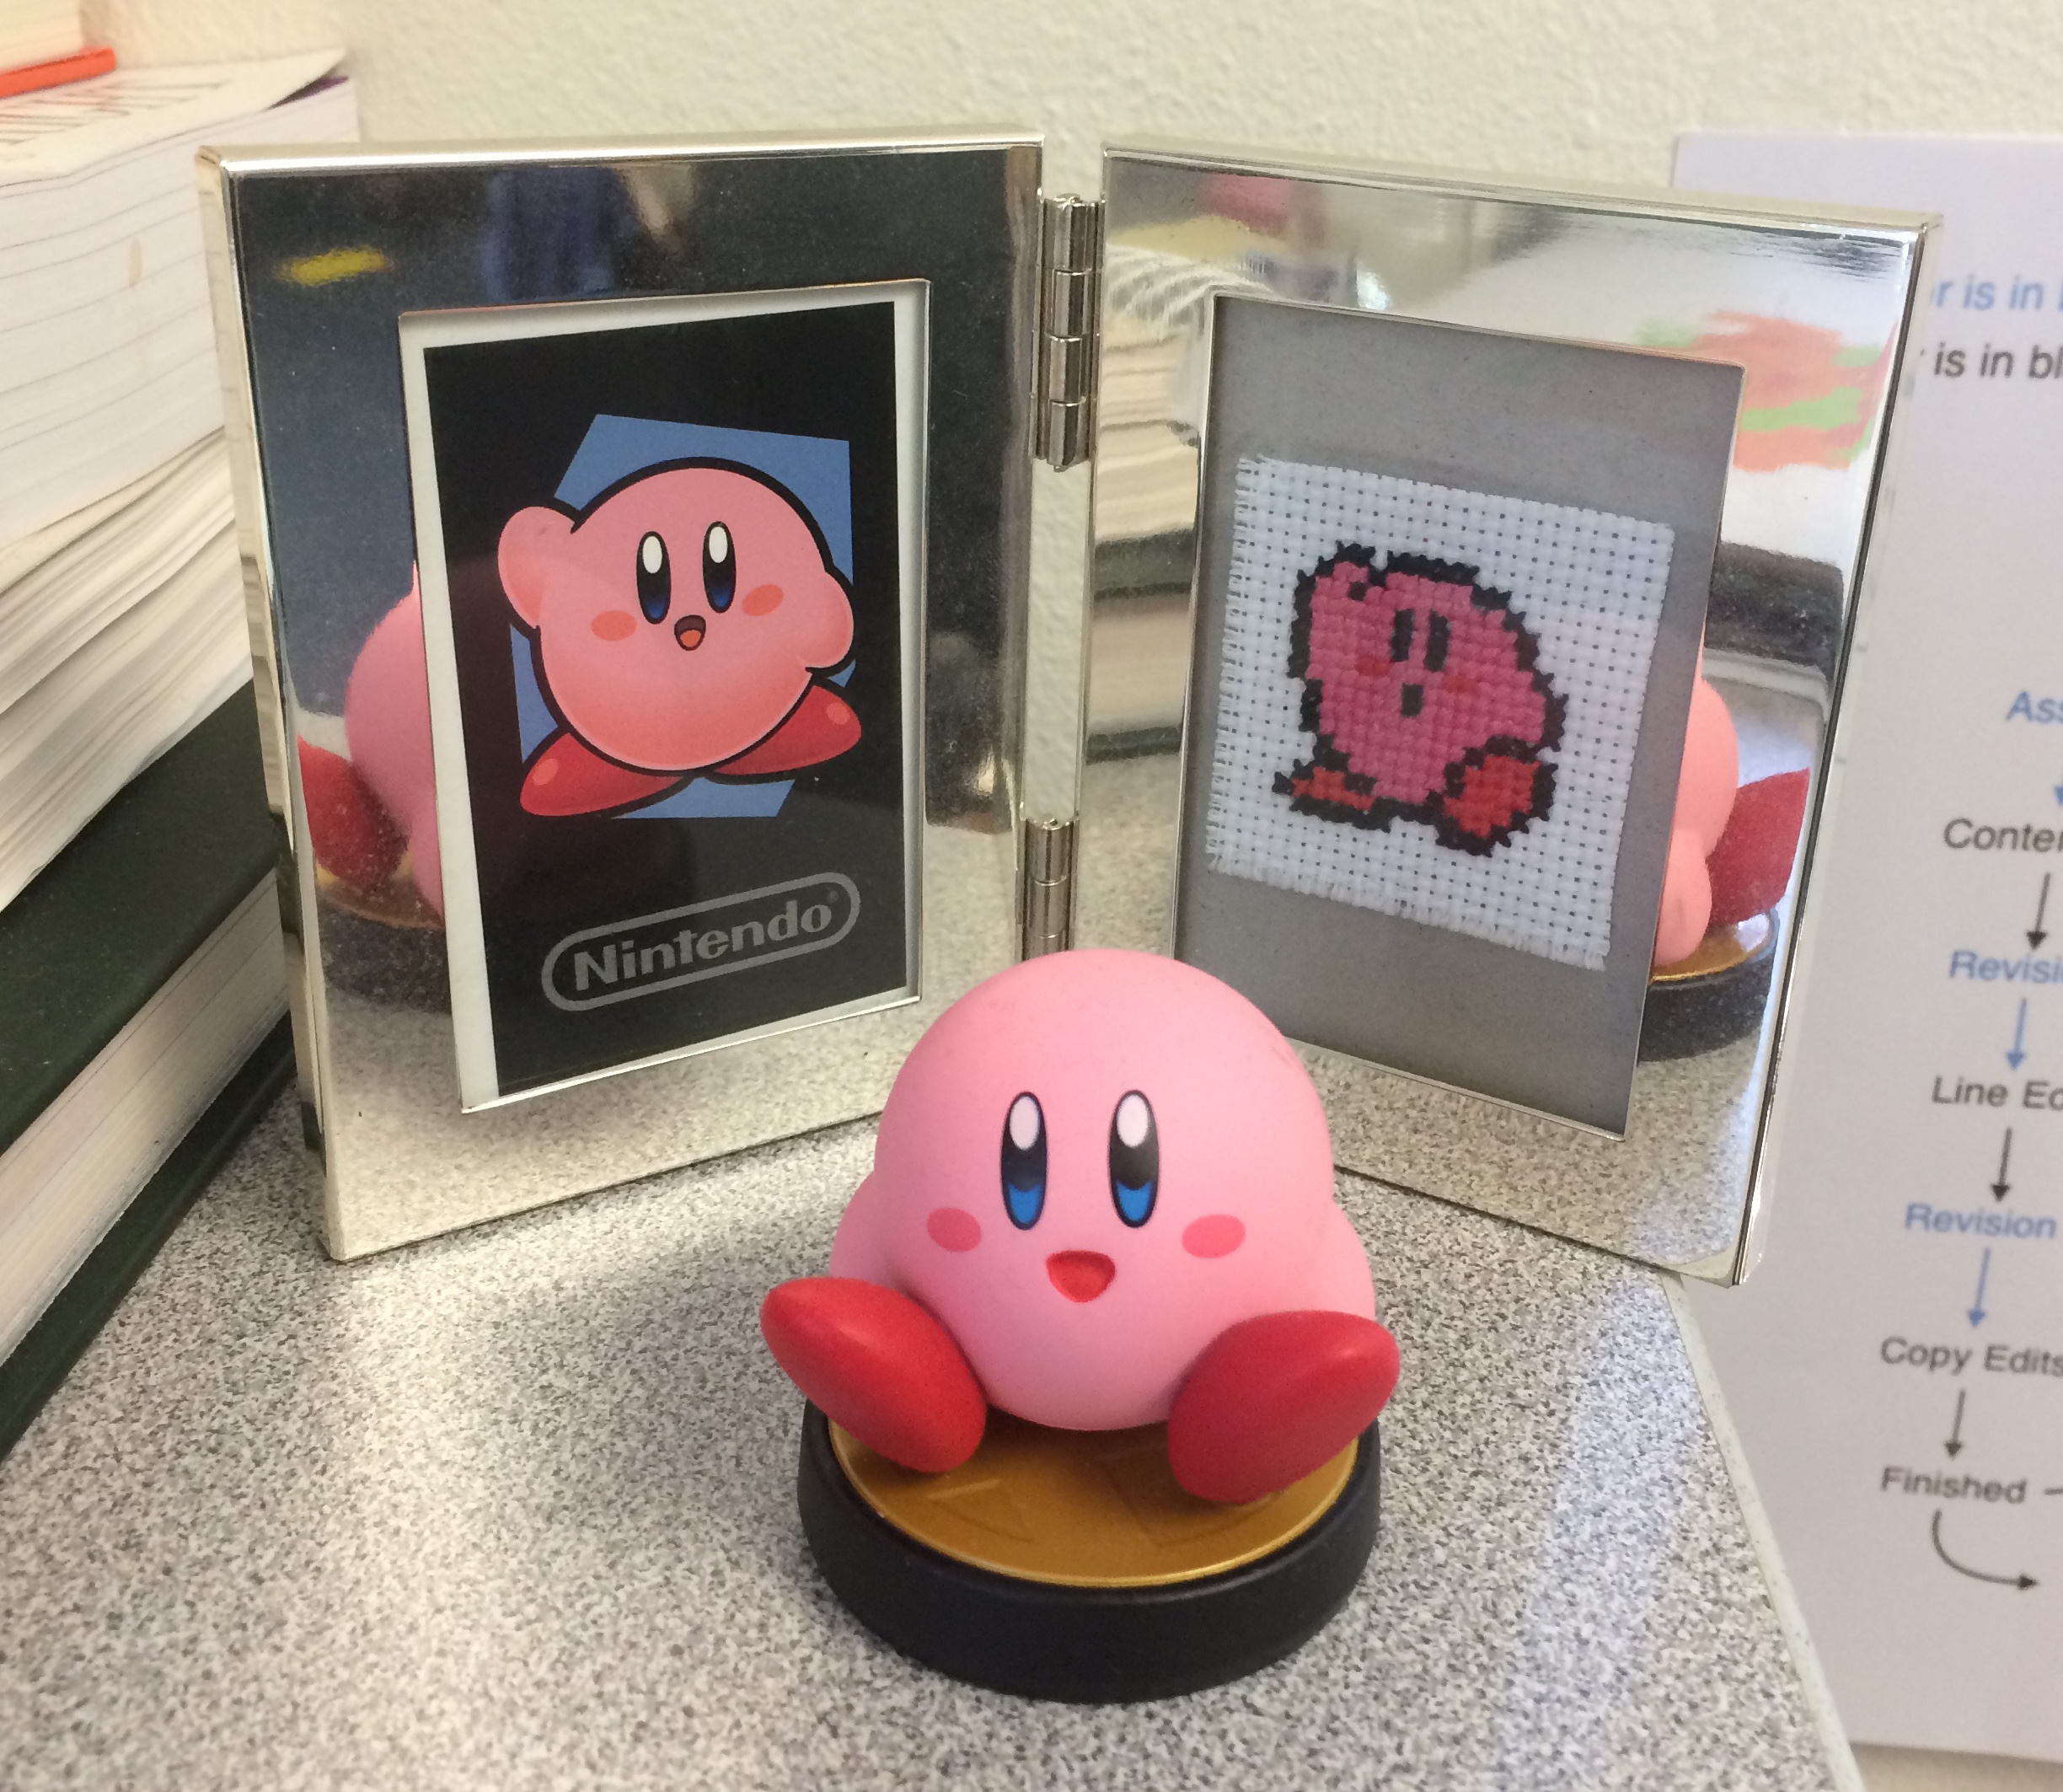
Kirby party!
Ta da!
If you read this article and decided to make your own video-game cross-stitch, let us know in the comments! And if you have any questions or run into any snags, I’m happy to try to help you out.
Happy stitching!